DIY Paper Bead Rollers

If you have been crafting for a while, chances are you have probably heard of paper beads. I discovered paper beads a few years ago and once I started making them, I couldn't stop. They are so fun, versatile and thrifty that it's become one of my favorite crafts.
One of the challenges I encountered when I first began making paper beads was finding a comfortable way to roll them. Traditionally, paper beads are rolled using either tooth picks or skewers. This can become painful after a while because it strains your fingers, and it's also more difficult to roll the beads this way, so I began looking for tools to make the job easier. I soon found out that paper bead rollers are the easiest way to roll paper beads. You simply slide the end of the paper strip through the metal slot and start rolling the bead by twisting the handle.
The only issue was that I didn't just want to buy a paper bead roller, I wanted to make my own and personalize it. After doing some research, I found that you can get the hinge pins at Home Depot for just a few cents. Hinge pins (also called tension pins) are what makes the paper bead roller since they have a slot for the paper and a round shape to roll the bead. Depending on what size you want your beads to be you can get different diameters of hinge pins. I make my handles with polymer clay, but you could easily use a wooden dowel and drill a hole for the metal hinge pin. You just want the hinge pin to be more than 1.5 inches in length so it fits in the handle securely. The process is rather easy and you can make tons of variations!
Materials
- Hinge Pins/Tension Pins (you can find these at a hardware store)
- Polymer clay
- E6000 industrial strength glue
- Glitter and Stamps (optional)
Tools
- Polymer Clay blade
- Tile for working with clay
- Oven
Instructions
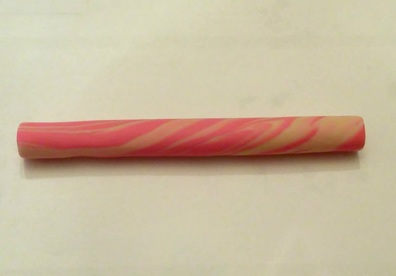
Step 1. Begin by taking a piece of polymer clay and conditioning it so it softens. If you want a marbled handle, twist 2 contrasting colors together. Roll the clay into a snake until it is about 1 inch in diameter and about 7 inches in length.
Step 2. Let the clay log sit for about 20 minutes. This will harden the clay and give you a better cut when you slice off the ends. Use the polymer clay blade to slice off either end.
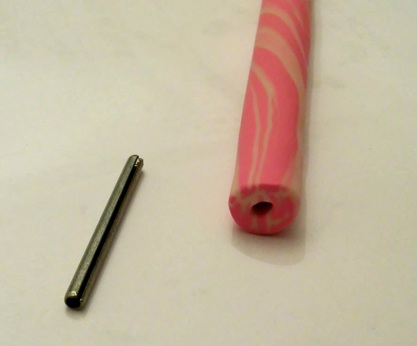
Step 3. Use the hinge pin to make a hole on one end of the handle. Gently twist it into the clay until is it about 1/4 of an inch into the clay. Take out the pin and set aside.
Step 4. Bake the clay handle using the polymer clay packaging instructions. To prevent the clay from getting scorched, make a tent with aluminum foil and place over the clay.
Step 5. Use E6000 to glue the pin to the handle. Set aside until dry and then you're ready to make paper beads!
Variations
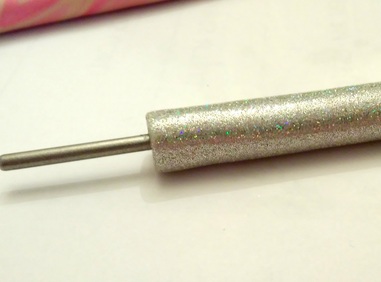
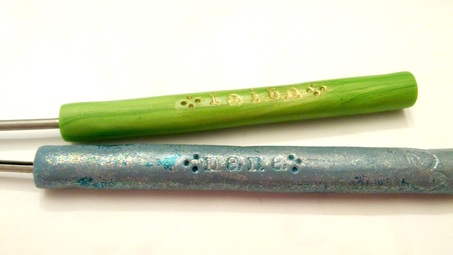
You can get different effects using glitter or stamps. To make a glitter handle, roll the handle in extra fine glitter before baking. The glitter will adhere to the clay and stay on after you bake it. You can also stamp the clay before backing to give the handle texture and even personalize it with alphabet stamps.