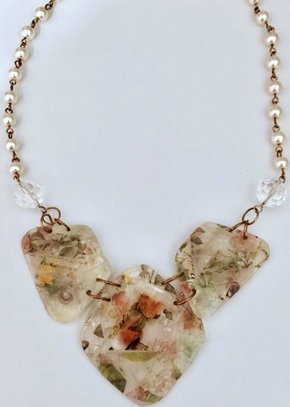
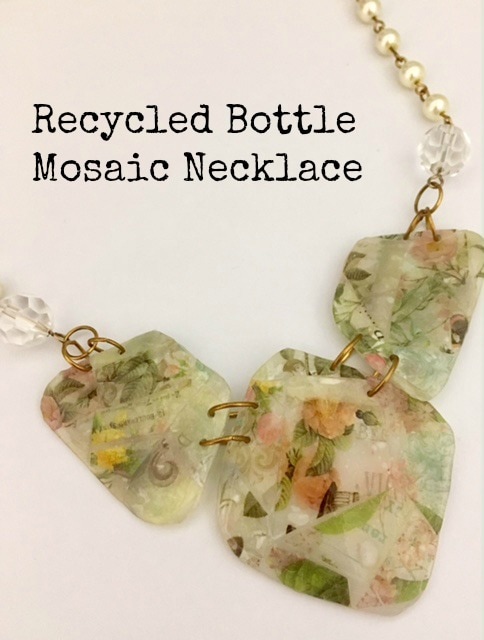
Mosaic Necklace From Recycled Plastic Bottle
After making tons of jewelry pieces with image transfers I was left with a lot of image transfer scraps. I didn't want to throw them away because they still had pretty images (and I didn't want to be wasteful). I ended up saving all the scraps and came up with the idea to lay them down like a mosaic. The result is a fun, unique piece that mimics those mosaics made from broken tea china. And the best part about this project is that it's made from cutouts of a plastic rubbing alcohol bottle. Why spend a small fortune on jewelry components when you can get creative and make your own for next to nothing? :)
If you're not sure what an image transfer is, check out my tutorial on how to make an image transfer. All you need are invisible tape, colorful images (from magazines, product packaging, old calendars, etc.) and water. It's super easy to make an image transfer and I guarantee you're going to be making tons of them!!!
If you're not sure what an image transfer is, check out my tutorial on how to make an image transfer. All you need are invisible tape, colorful images (from magazines, product packaging, old calendars, etc.) and water. It's super easy to make an image transfer and I guarantee you're going to be making tons of them!!!
Materials
- Image Transfer scraps (Or cut up an image transfer into irregular pieces)
- Empty Plastic Bottle (Preferably With Flat Sides)
- Glossy Accents
- Eye Pins
- Jump Rings (Large and Medium)
- Beads of your choice
- Clasp
Tools
- Scissors
- Jewelry-making pliers
- Small hole punch
Instructions
Step 1. Take a clean plastic bottle and cut out a diamond shape and two trapezoid shapes. I used an empty rubbing alcohol bottle (it had a square shape vs. being cylindrical). The shapes don't have to be perfect, just make sure to round the edges so that they're not sharp when you're wearing the necklace.
Step 2. Cover the plastic shapes with glossy accents and begin to lay down the image transfer scraps . Leave a tiny space between the pieces for that mosaic look. Some of the image transfer pieces will go over the edge. This is ok, once the glossy accents dries you can trim any of the pieces that are excess.
Step 3. Once the glossy accents has dried. Trim the excess pieces of image transfers that have gone over the edge of the shapes. Give the piece a top coat of glossy accents to seal the pieces down.
Step 4. Repeat the process on the back side of the plastic shape so that both sides are entirely covered in the image transfers.
Step 5. Use the small hole punch to make holes in the plastic pieces. Lay the pieces down how you want them to connect to each other. You can use a sharpie marker to mark the holes to make it easier.
Step 6. Use large jump rings to connect the plastic pieces to each other with the holes you punched.
Step 7. Use the eye pins and the beads to make a bead chain, Simply slide a bead on the eye pin, cut the eye pin if it is too long and form a loop. Make 2 bead chains in total measuring about 6 inches.
Step 8. Connect a bead chain to either side of the mosaic pieces. Use the medium jump rings for this step.
Step 9. Add a clasp, and that's it!! You know have a unique necklace made with recycled materials!